Showing posts with label Simple Saving. Show all posts

Friday, November 11, 2016

Fill Your Freezer - Meat


Meat is so expensive. As much as I'd love to cut down on meat and have more vegetarian meals, certain family members wouldn't go for that! So instead, I choose to always have my freezer stocked with sale and discount meat.

All of our discount meat is either 30% off from No Frills or 25% off from Wal Mart. The meat is usually discounted because it's been on the shelf for a few days and needs to be 'eaten' right away. I always check the date to make sure it's still good and then put it in the freezer as soon as I get home and we have never had the issue of meat going bad.

The next thing I love to do, which I am sharing right now because of the upcoming holiday season, is to stock up on sale meat around Easter, Thanksgiving and Christmas. This is the time to fill your freezer with whole Turkeys and Hams!

Around the holidays whole turkeys are less than half price at around $0.90/lb in my area. This is cheaper than any other meat at regular or sales price. There is usually a limit of 2 per family/customer but since they are on sale at basically all the stores I really could get as many as I wanted. Usually 2 or 3 turkeys is enough for a few months anyways.

So far I have only bought a ham marked down after the holidays once but I'm definitely doing it again! I bought a HUGE delicious glazed ham for about $20 just after last Christmas and cut it into slices. I froze a few slices together in each freezer bag and pulled out ham when I needed a quick meat for dinner or even to fry up with breakfast over the next few months. That $20 ham must have done at least 10 meals.

Due to our recent move, my deep freezer is currently empty and unplugged at the old house and I just have use of my small fridge freezer. I have no idea how people without deep freezers survive! My fridge freezer is so full I can barely shut the door. Thankfully my deep freezer is being brought over soon because I am so excited to fill it with cheap meat over the holiday season. I am definitely most looking forward to a big breakfast with fried ham come the new year!


Friday, September 9, 2016

Frugal Moving Tips


We are currently in the process of packing up our house and moving out into the country and lately it's got me thinking a lot about costs.  I've heard people talk about how expensive moving is way too many times! While buying a new house is definitely expensive, so so expensive, many aspects of moving don't have to be. Today I am excited to share all the things that I am doing to try to make this move as inexpensive as possible.

Some of these may be common sense, but it's our third big move so far and it's the first time I've thought to do many of them!

Don't Buy Boxes

Buying boxes from somewhere like Home Depot will cost you around $1-$3.50 per box. This might not seem like much but if you have as much stuff as we do, that could add a few hundred dollars to your moving expenses. Instead, get yourself some free boxes!

Think Ahead - If you know you are going to be moving in a few months, save any cardboard boxes you get instead of recycling them. I have been doing this with diaper boxes for the last few months. With three kiddos in diapers right now, I've got quite a few diaper boxes laying around. If you don't have any kids in diapers, ask family members and friends who do to save their boxes for you.


Businesses - If you know anyone running their own business, ask them to save shipment boxes for you. Or even a friend working at a restaurant or grocery store could let you know when they have boxes available. If you don't know anyone, call around to stores. We got the boxes for our first move from a Tim Hortons down the road. Also, a friend recently told me that the LCBOs usually have boxes stored in the cupboards near the cash and one of our grocery stores keeps boxes piled near the checkout lines, free for taking.

Food Banks - Food banks often have boxes of food delivered from local grocery stores or food bank distribution centers. In some cases, it is easier for them to give the boxes away than have their volunteers put the time and effort into breaking them down and recycling them. This is where I got all my banana boxes for this move.

Online - Check the free sections of Kijiji or Craigslist, people whp have just moved often give their boxes away. You could even try posting a "Wanted" ad. Next, try writing a Facebook post looking for boxes. A friend may have just recently moved, or even just have some unused boxes sitting around waiting to be recycled.
Banana and Liquor boxes are the strongest!

Don't Use Boxes

Still having a hard time finding free boxes? Maybe it's time to consider not even using boxes... or at least using as few as possible.

Garbage Bags - Garbage bags are a cheap alternative at $0.10 each (depending on which brand you use) and can be used for a multitude of different items like stuffed toys, clothing, pillows, blankets, sheets, towels and so on. They can also squish into places that a big box might not fit, like the front seat of your car.

Suitcases - I have seen people leave their suitcases all stored one inside the other while moving and we've probably even done it ourselves. What a waste of space! Suitcases were literally designed for transporting clothes. This move our suitcases are all filled up with clothing for the new house. Since suitcases are fairly sturdy they could be filled with other non-fragile items, like shoes, as well.

Rubbermaid Bins - If you're going to be purchasing more rubbermaid and storage bins or organizing at your new place anyways than go ahead and stock up now. These are much sturdier than boxes and if you fill them with seasonal items, you probably won't even have to unpack once you get there.

Forget the Bubble Wrap

Linens - Things like blankets, towels and pillowcases have to be moved anyways, why not use them to wrap fragile items. I lined boxes with blankets for any glass items and put different items in
different layers.
This box is lined with a thick blanket since it will hold glass pans. 

Flyers - Save up the flyers before moving. If you get as many flyers as we do, a months worth should be plenty! These are a free, lightweight option for wrapping and protecting fragile items.

 Bags - Even plastic grocery bags make a good barrier for fragile items.


Forget the moving Truck

The need for, and cost of, a moving truck will depend on how far you move, how much stuff you have and what kind of deal you can find. Generally, if you are moving within the same city, it's more cost effective to skip out on the moving truck. 

Multiple Trips - Making multiple trips in your own vehicle is usually cheaper than paying for the gas and rental of a van or truck.

Friends - Gather up your friend. Know someone with a truck or trailer? See if they will help you out for the day. Make it worth their while with some free pizza at the end of the day. If you pile things right, you can fit a lot more than you might think in one pickup truck.

Photo: http://acumenmd.com/blog/ehr-conversions-are-we-there-yet/
If you feel uncomfortable asking for free help, paying a friend for a few hours of their time is totally fair and still way cheaper than a rental. I don't know many people who aren't looking to make some easy money on the weekend.


Boxes make the best toys!

Between the closing fees, home insurance costs and the purchase and installation of a new woodstove, this new home isn't going to be cheap, but there's no way I'm going to let moving costs make it any worse! I'd rather save that money for new home decor... or at least for the supplies I'm going to need for all the DIY projects I plan on doing once we move!

Friday, August 26, 2016

Harvest 2016

So excited to start bringing in the produce from this years garden! I think this is my most productive year so far. The tomatoes are delicious, there are SO many green beans, we have had some HUGE turnips and my butternut squash are starting to look good. Seriously, how do people NOT have gardens??


I can't even express how cool it is to plant some seeds in the spring, water the garden a few times and then literally be able to walk in the back yard and choose fresh vegetables for dinner only a few months later.

I know some people avoid gardening altogether because of the work you have to put into it but honestly, once the garden is dug nature does most of the work. I for real only put a few hours into the garden this whole year. I planned it out on paper, a friend and I spent less than an hour planting, we watered it maybe 10 times and spent a combined total of (maybe) 2 hours weeding. And it still grew! It isn't perfect, but it grew!

And last summer my 6 month pregnant self put even less time in and still had a huge harvest. Seriously, the cucumbers and tomatoes were rotting on the vine because we couldn't eat them fast enough. Since I wasn't able to weed the whole summer or stake the plants, my garden was a mess, but it grew! You had to wade through the bean plants to find the cucumbers and the tomato plants were growing across the lawn, but it grew!

Gardening is definitely the best way to save money on food. You can clip as many coupons as you want but even $0.10 yogurts and $0.50 freezer pizzas can't compare to the abundance of (basically) free food that a few hours of gardening can give you!

If you have shied away from gardening in the past because of the amount of hard work you thought it requires, I am begging you to reconsider! It's never too early to start planning your garden for 2017.


Monday, December 7, 2015

Frugal Finds Fall 2015 - Get the Most out of Thrift Shopping


I have a confession to make. As much as I am all for living simply and saving money, I have a serious obsession with shopping. I even immensely enjoy grocery shopping and I'm pretty sure it's just because I get to buy stuff. Thankfully, for the sake of our budget and my sanity, God created thrift stores and even then, I have to control myself.

While you can still find some pretty awesome deals on the clearance racks at regular stores, nothing beats the good old Salvation Army. I love the fact that I can get 5 used but new looking, good quality items for the price of one brand new one. I often even find things at the Thrift Store that still have the tags on and clearly haven't been worn.

I know some people find the idea of thrift shopping kind of gross or a little sketchy and while they can be, most really aren't. The places I typically go, like Salvation Army and Value Village are kept tidy and well maintained. Also, the clothing is well washed before being put out. I know because anytime I try something on at the Salvation Army I am nearly chocked to death by the powerful smell of whatever detergent they use... When I get home from second hand shopping I always just throw the items straight into the washer and we've never had any problem.

Today I wanted to post some my favorite items I picked up this fall and how much I paid for them.


Childrens' clothing, name brands are Carters, Mexx, The Childrens Place and Nevada. Everything in good condition for $2. 


Sweaters, all of which I can wear even over my big pregnant belly. None of these are great name brands but all were $2 and I wear the black one once a week... if not more now that most of my maternity clothes don't fit anymore! 


Pretty maternity shirt, $3. Super comfy long sleeve from Forever 21, $3 and a pair of American Eagle pants for my husband, $5. 

Clothing isn't the only good find at Thrift Stores either. I had really been wanting a nice solid coloured tea pot, similar to this one from Davids Tea, for a while but couldn't spend $30 on it. Also, I needed some good quality winter boots that weren't totally hideous, that I could bear to wear in public, that actually kept my feet warm and dry but didn't cost $100+. So, I kept my eyes open on my thrift shop visits over the last few months and.. voila, I now have both! And I am happy with the total amount spent. The tea pot was only $3.99 at Value Village and the boots were $15, usually retailing for $60+. 


Thrift Shop Tips

Here are my tips for getting the most out of thrift shopping:

1.) Keep a running list of things you need/want to buy that way you can go straight into the the store and know what aisles you need to look down. This keeps you from getting distracted, taking longer or spending on things you don't actually need and forgetting the things you do need. 

2.) Know what name brands you like and how much they cost regularly. Some thrift stores have a common price for a certain item. Example, all ladies tops are $5. This is a great deal if you love and find some dress shirts from H&M which are usually $15-$45 but not so great if the top you grab is from Wal Mart and usually retails for only $7.50 anyways.

3.) Thrift stores have sales! A lot of people don't know that thrift stores actually often have sale days or sales items. For example, a store may want to clear out their sweaters after winter and have them all for $2 in the spring. Our Salvation Army has 50% off and $2 sales all the time, if you're not sure whether they have sales or not, just call and ask. 

4.) Try things on. Always. Even if the dress is a stretchy material and the boots are definitely in your size. Defects in clothing are often hard to spot even if you look closely at the item, until you try it on. That dress may be the perfect size for you but turns out there's a hole in the armpit and the zipper gets stuck halfway up. Maybe the boots fit great but the lining is coming out on the inside and it's too uncomfortable to wear! 

5.) Make a Donation. When you make a donation at most thrift stores, you get can get something in return. At the Salvation Army here you tell them when you are dropping off a bag or box and they will give you a $10 off $25 purchase coupon, quite a bit considering it's already a thrift store! Value Village gives you a stamp card and once you make a certain amount of donations, you receive a discount on your purchase. 

6.) Take your time. You may not want to spend hours at the store, but make sure you slow down and look at the items as you shop. You don't want to skip over something you may love or miss seeing that the $5 name brand dress shirt still has the $35 price tag on the inside and your brother would love it for his birthday. 

The shirt below is probably my favourite deal from my trips this fall. 


Gorgeous Forever21 dress shirt, $40 tag still on, paid $7!


Sunday, December 6, 2015

Freezer Food Part #2


If you read my Freezer Food Part #1 post then you know I've really been hoping to stock the freezer full of some simple, healthy, quick foods for after Baby Larochelle comes. Since my almost fully pregnant body isn't exactly up to a huge 12 hour long cooking session I decided to break it down into a few different cooking days and finally got to my first one last week! I am super excited to be building up a stockpile of food, it helps take away some of the stress and anticipation of birth and having a newborn baby in the house. In fact, I'm thinking of making it a more regular part of our lives, pregnant or not!


Since I wanted to keep it simple this time around, I chose 4 easy foods with similar ingredients which meant less stuff to buy, less items to cut up and less chance of cross contamination. The items I made this time were:

Lunch Burritos
Meatballs
Chili 
Ravioli and Tortellini Pasta Packs

The first thing I did was cut up all my vegetables which, in this case, was only peppers and onions. Having a big bowl of each cut up and ready to go made throwing everything together so much easier.


Next I browned all the beef, except for about 2lbs which I set aside for meatballs. I did half the beef in one pan to use for the burritos and pasta and the rest in a huge pot for my chili.With the meat I tossed peppers and onions into both pans, just setting aside enough onions for the meatballs later on.


While that cooked, I set out my awesome freezer containers I picked up at the wholesale store and filled them with Ravioli and Tortellini. I then added a big spoonful of Classico pasta sauce, either Alfredo or Italian to each container. I usually don't buy these but they were on sale and saved me a ton of time over making the sauces myself.


Then I opened cans and added my beans, spices and tomato sauces to the chili pot. Since I let the chili simmer for a long time, I was able to just stir occasionally while I worked on other things.

Now that my ground beef, pepper, onion mix was ready I moved to pasta packs and burritos. The only thing left for the pasta was adding the beef mixture to the top and putting the lids on. I also put the containers into large freezer bags as an extra measure against freezer burn. 

Next, I laid tortillas all over the counter for my burritos. I started by just adding a scoop of canned baked beans, re-fried beans are better but I just had these available. Then I added a scoop of beef mixture, some cheese and rolled them up. So quick and easy. I wrapped the burritos in a layer of aluminum foil before placing them in freezer bags.


Since my chili was basically ready at this point, I just let it to cool before putting into freezer bags and moved to my meatballs. I don't really follow anything for meatballs but any basic meatball recipe should work good. Just make sure you cook the meatballs and then freeze them without adding any sauce. Once they were done I portioned out my meatballs and chili, placed everything into labelled freezer bags and put them in the deep freezer!


I am definitely impressed with the end result. It only took about 3 hours and I now have lots of good food in the freezer and the whole process produced surprisingly less dishes than anticipated, yay!


Here is how I plan to use the foods, just in case you are curious.

- Pasta packs and burritos will most likely be used as quick, microwavable lunches for my husband and I, hopefully we will throw a few fresh vegetable or fruit slices on the side. If we are being completely honest, I've already broken into these when I was too lazy... I mean too busy to make lunch and they are amazing.

- We will have big bowls of chili for dinner a few different nights, probably with buns or salad, and then use leftovers for things like chili cheese dogs or chili fries.

- Meatballs will probably be eaten once as topping to a big pot of spaghetti and then the rest will be cooked using my favourite, super simple glaze recipe from I Heart Naptime.

Next I hope to take an afternoon and work on some of the breakfasts and snack foods I had on my original freezer meal planning list. While I may not get around to everything, I really want to do muffins, waffles and homemade granola bars.I better get moving since there are only 26 days, 2 hours and 3 minutes until the due date.... and I have a feeling he may come early!

Tuesday, November 24, 2015

Winter Centerpiece


While running into Michaels the other day to grab yarn for another DIY project, I was totally in awe at all the gorgeous winter wonderland style decorations and pieces that they had out. It reminded me that I wanted to update the centerpiece on our table and so I decided to leave Michaels, since the expensive decorations were extremely tempting, and hit up Dollarama for some DIY project supplies. 

Roll of gold sparkle fabric, winter "braches" and some platic snowflakes, $5


Once I got home, I consulted my "Christmas" board on Pinterest and was ready to get started. First, I threw on some my super cozy footsie pajamas and made myself a hot chocolate with whipped cream to get me in the mood. This step is 100% manditory!


I gathered my supplies from Dollarama and then went out to the yard and the park nearby to get the rest. This included sticks and pinecones. To make these look more wintery, I lightly painted them with some leftover white wall paint then added some clear sparkling nailpolish.


Once everything was dry I threw it all together in a simple glass vase and set that on top of my "table runner" (fabric I got at Dollarama). 


Then I added the branches from the dollar store. Last, I found some of my shiny thread (also from Dollarama in the past) and started hanging snowflakes from the branches. I also scattered some of them alongside the pinecones beside the vase. 


Overall, I am totally happy with both the $5 price tag and the end result. My house feels more wintery already and I haven't even started my actual Christmas decorating! I hope this motivates you to get to work on some of your own decorating.

In fact, this project was so much fun it convinced me to add a DIY section to the blog. I am not super original, so most of my projects are copies of things I love off of Pinterest or a things I've seen at the store.  I still want to share the projects that I do as motivation, though. Do it yourseld projects are such a huge part of frugal and simple living, plus they're really enjoyable. Hopefully sharing what I'm up to will encourage you to save money by attempting some of your own projects in the near future. 


Tuesday, November 17, 2015

Baby's Coming Freezer Food Part #1

One month, fifteen days, seven hours and fifty five minutes until Baby Larochelles' due date. 1 month, 15 days, 7 hrs and 55 minutes....

How can one period of time seem so long and so short at the same time?! I am so ready to not be pregnant anymore, to not get leg cramps, not have heartburn, not feel like a whale, not waddle while I walk. I am so ready to be able to climb all the way up the stairs without having an asthama attack, but I am also so not prepared to have a baby in this house! One of the main things I am going to do to make life a little less hectic when our little man is born is to start preparing freezer food.

This is one of the biggest suggestions I have seen and heard from women who have already had babies. New moms (and dads) need to eat in order to have enough energy to care for a baby. Also, did you know you actually need to consume more extra calories while breastfeeding than while pregnant! So, in order to keep from overspending on premade or frozen food at the grocery store, or filling up on fast food after baby comes, I want to have some good, healthy, non-processed and quick to make food ready to go in the freezer.

Anyone who is on Pinterest has definitely seen quite a few crazy looking freezer meal articles up there, like "50 Freezer Meals in 20 Minutes for $30"... Okay, I may be over exagerating a bit but while the articles sound awesome, many seem just a little unrealistic or like too much to take on at once (especially while pregnant). Also, I really like using fresh fruits and vegetables in my dinners so frozen meals you can just dump in the crockpot don't really appeal to me. So, instead of doing a huge freezer meal session and having full meals made up for after baby comes, I plan to focus more on freezing small batches of my favourite breakfast, lunch and snack food over the next month and then just including a few dinner items which I can incorporate into a quick meal.
After tons of research and consideration, I picked out a few simple foods that freeze really well and I think will fit my family's needs best.
Fruit Muffins
Waffles or Pancakes
Breakfast Sandwhiches or Breakfast Burritos
Banana Loafs
Cookies
Homemade Granola Bars
Lunch Burritos
Freezer Pizzas
Meatballs
Chili
I love the idea of having breakfast all ready to go because it makes mornings so much easier. With these things prepared, my husband can grab a quick bite before work and I can eat something right after I wake up.
Muffins, granola bars, loafs and cookies are also great snacks that can be thrown straight from the freezer and into my husbands lunch box, helping him resist the temptation to buy lunch at McDonalds or somewhere else! I also really love homemade granola bars because I don't really like eating protein other than at dinner and this is a good way to sneak it in.
I chose meatballs and chili because there are sooo many different things that you can do with them. I can thaw out some freezer meatballs or a freezer bag of chili and easily use them to make different dinners depending on my mood.
I will update more once I actually get cooking. I plan to share which foods I actually end up making, how I plan to use them and recipes that I used along with other feedback. 

Friday, October 9, 2015

Seasonal Eating


There is no denying that we are in the middle of Autumn! Besides the fact that its October, there's the beautiful, colourful leaves, the big bins of apples at the grocery stores and, of course, advertising for pumpkin flavoured EVERYTHING! I am so not complaining though, I love fall and everything that comes along with it.

Last weekend we made a trip out to the pumpkin farm and it really got me thinking about "fall" foods. With the convenience of current grocery stores, we can have basically any produce we want, in one form or another, at any time of the year. Honestly, I couldn't tell you when half of the fruit and vegetables out there are actually "in season". But, I wish I could and I am working on it because eating seasonally is a huge part of frugal living! Actually, there are many different benefits of eating seasonally.

1.) Produce is always cheaper when it is "in season". Planning your meals around what produce is in season and on sale will definitely save you money on your grocery trips. Grapes are a great example. We love grapes and I try to buy them fairly often but we definitely eat more grapes in August when they are $1.50-$1.99/lb compared to the middle of winter when they are $4.99/lb. And that's perfectly okay because there will be something else to enjoy in the winter months... such as winter squashes. I bought a butternut squash before the fall and it was over $1.50/lb but now that they're in season I was able to pick up a bunch for only $0.49/lb.

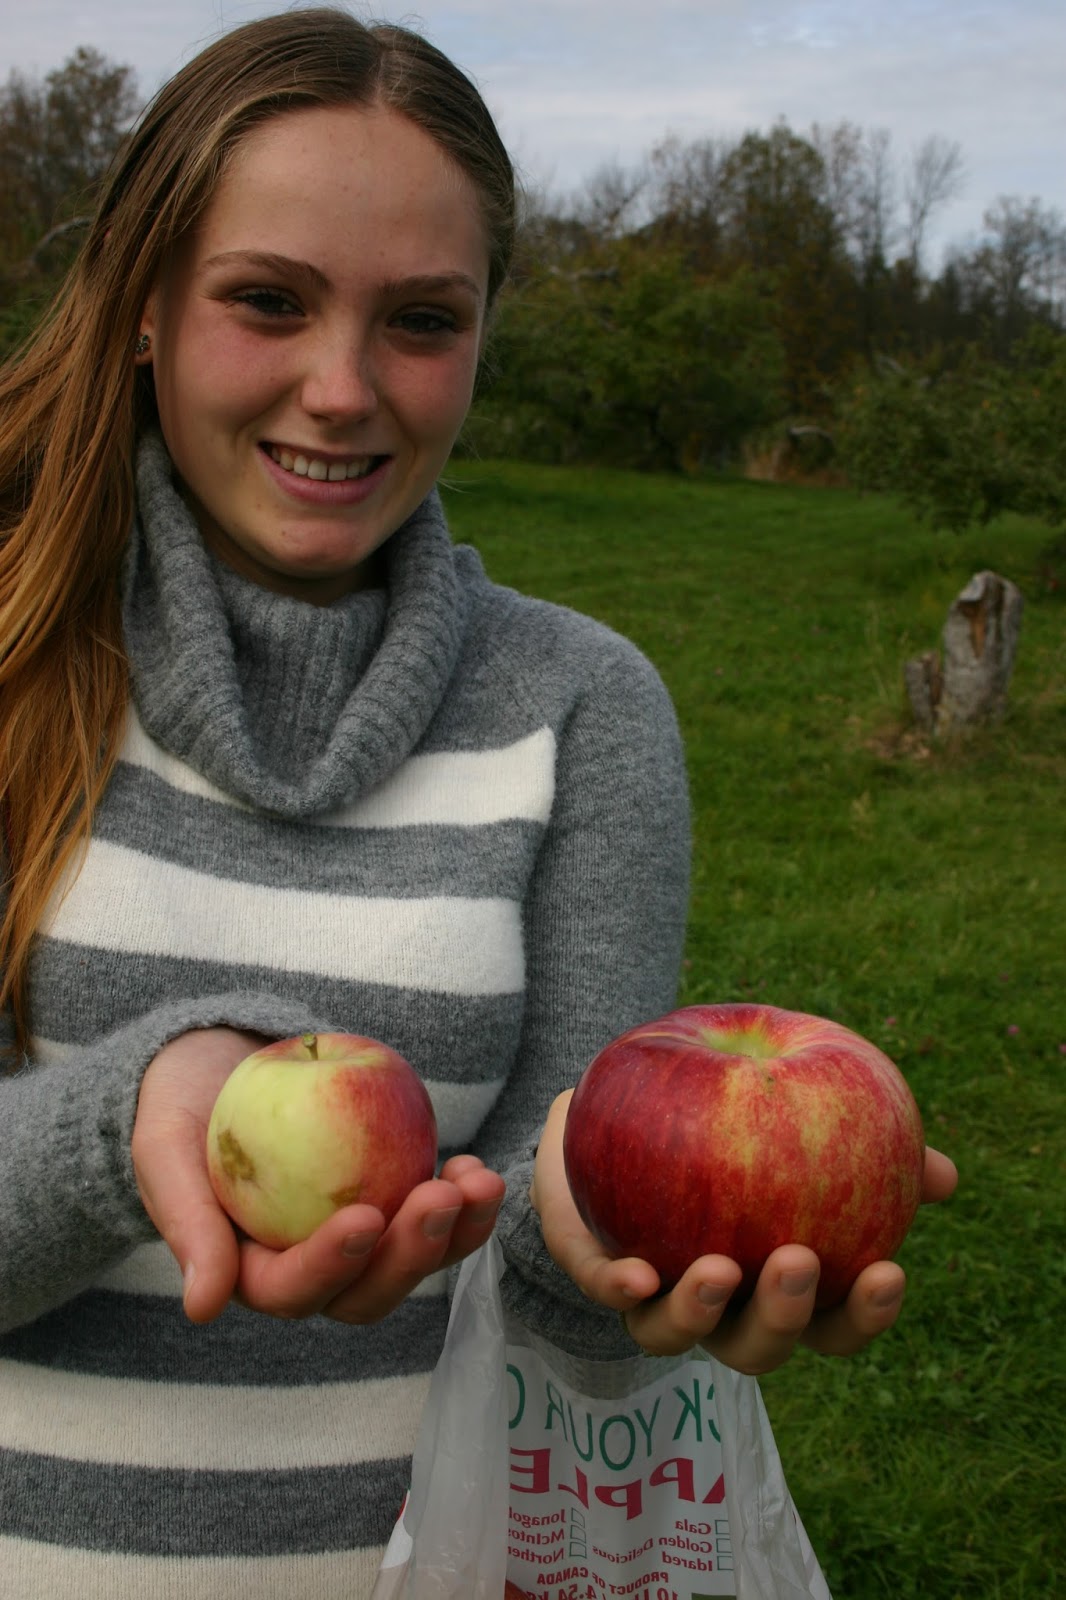
2.) Everything tastes better. We also love apples, I buy them practically year round but nothing compares to buying fresh apples in the fall. Better yet, apple picking. Have you ever picked and eaten an apple fresh off the tree? Yum...

3.) Better for you and better for the environment. When a fruit or vegetable is in season, it is much more likely that the grocery store got it locally. Or you picked it yourself from a small farm or local farmers market. This produce is much less likely to have been chemically 'enhanced' or sprayed or whatever it is they do to our food on commercial mega-farms. Local produce also means that the food wasn't transported nearly as far. The Ontario grown strawberries that I buy in the summer didn't require nearly as much transportation as the California grown ones they sell in the winter meaning less greenhouse gas emission. Furthermore, the baskets of strawberries that I picked from a local farm required even less travel and they tasted fresher than any I have ever bought from a grocery store.

Eating seasonally may seem really restricting or boring but it doesn't have to be. Once you get the hang of buying and cooking 'in season' you will see that there are a ton of different ways to cook one food alone. Here's a list of a few things that are in season right now, along with some of my favourite recipes.

Apples

Baked Apples. Just peel and slice the apples, toss in desired amount of cinnamon and sugar than toss in the oven at 400 until soft. Or... just cut the apples up and eat them! I've been having tons of apples this past month. My favourite lately is apples dipped in peanut butter or apples with a few nice slices of cheddar cheese.  

Squash

Carrots

Pumpkin
Made this yesterday and it was delicious!

I already can't wait to make these again...
Roast Pumpkin Seeds

Don't forget, you can always freeze things as well so that you can enjoy the flavour even when it is out of season. Try freezing the pumpkin or apple muffins for a nice breakfast or treat in the winter months. Also, you can cube and freeze the squash while it is on sale and roast it for a great, inexpensive side dish, even when it is out of season. Check back later for a some freezer cooking posts and I will let you know what else I love to freeze.